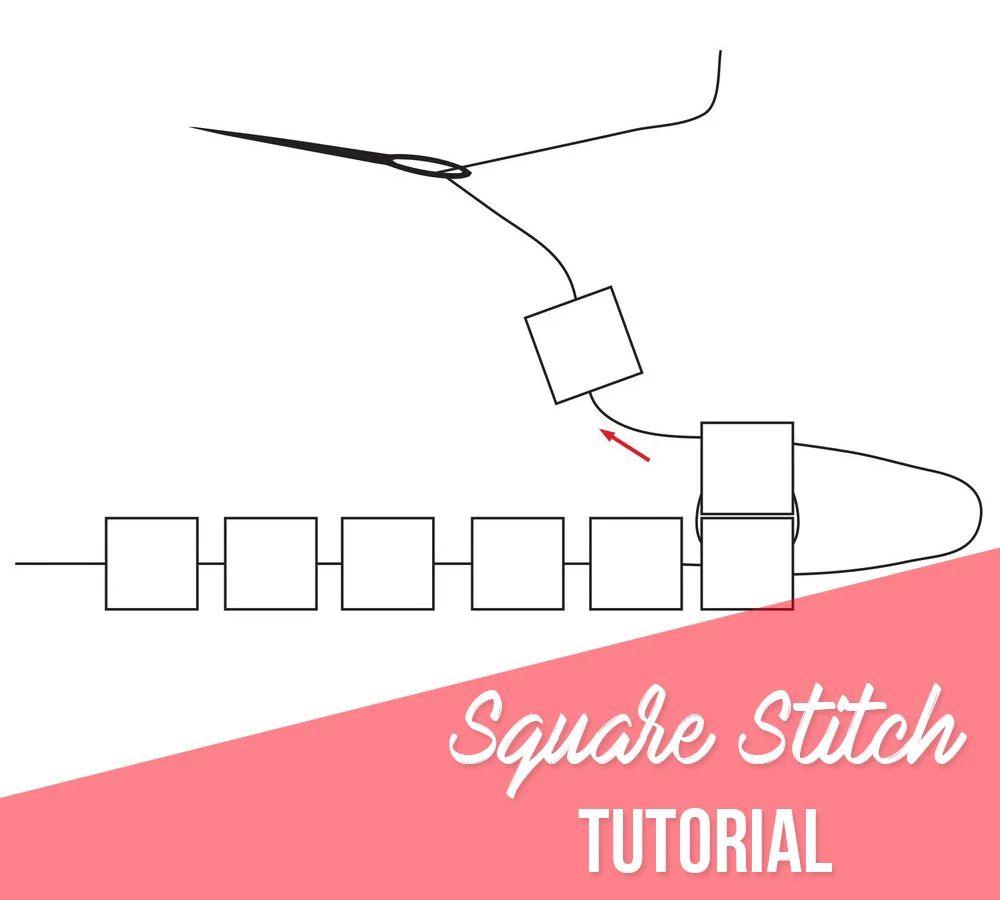
Loom bead work is very beautiful and a lot faster than the square stitch, but I just hate setting it up and finishing the ends. Your left with all the threads sticking out all wonky and messy. With the square stitch there are no ends to finish. In this post I'm gonna go through how to do the square stitch step by step. Please excuse my diagrams, they are a bit basic but they will get the point across!
Start off by stringing your first row of beads plus the first bead of your second row. Be sure to leave a nice long tail.
This part can be a little tricky. Some people tie on a large bead on the end so your beads don't slip off. I find that a little unnecessary, I just hold them with my thumb and forefinger.
Now your going to put your needle through the last bead of your first row and pull through until the first bead of your second row is on top of the last bead.
Pull nice and tight and then put your needle through the bead on top.
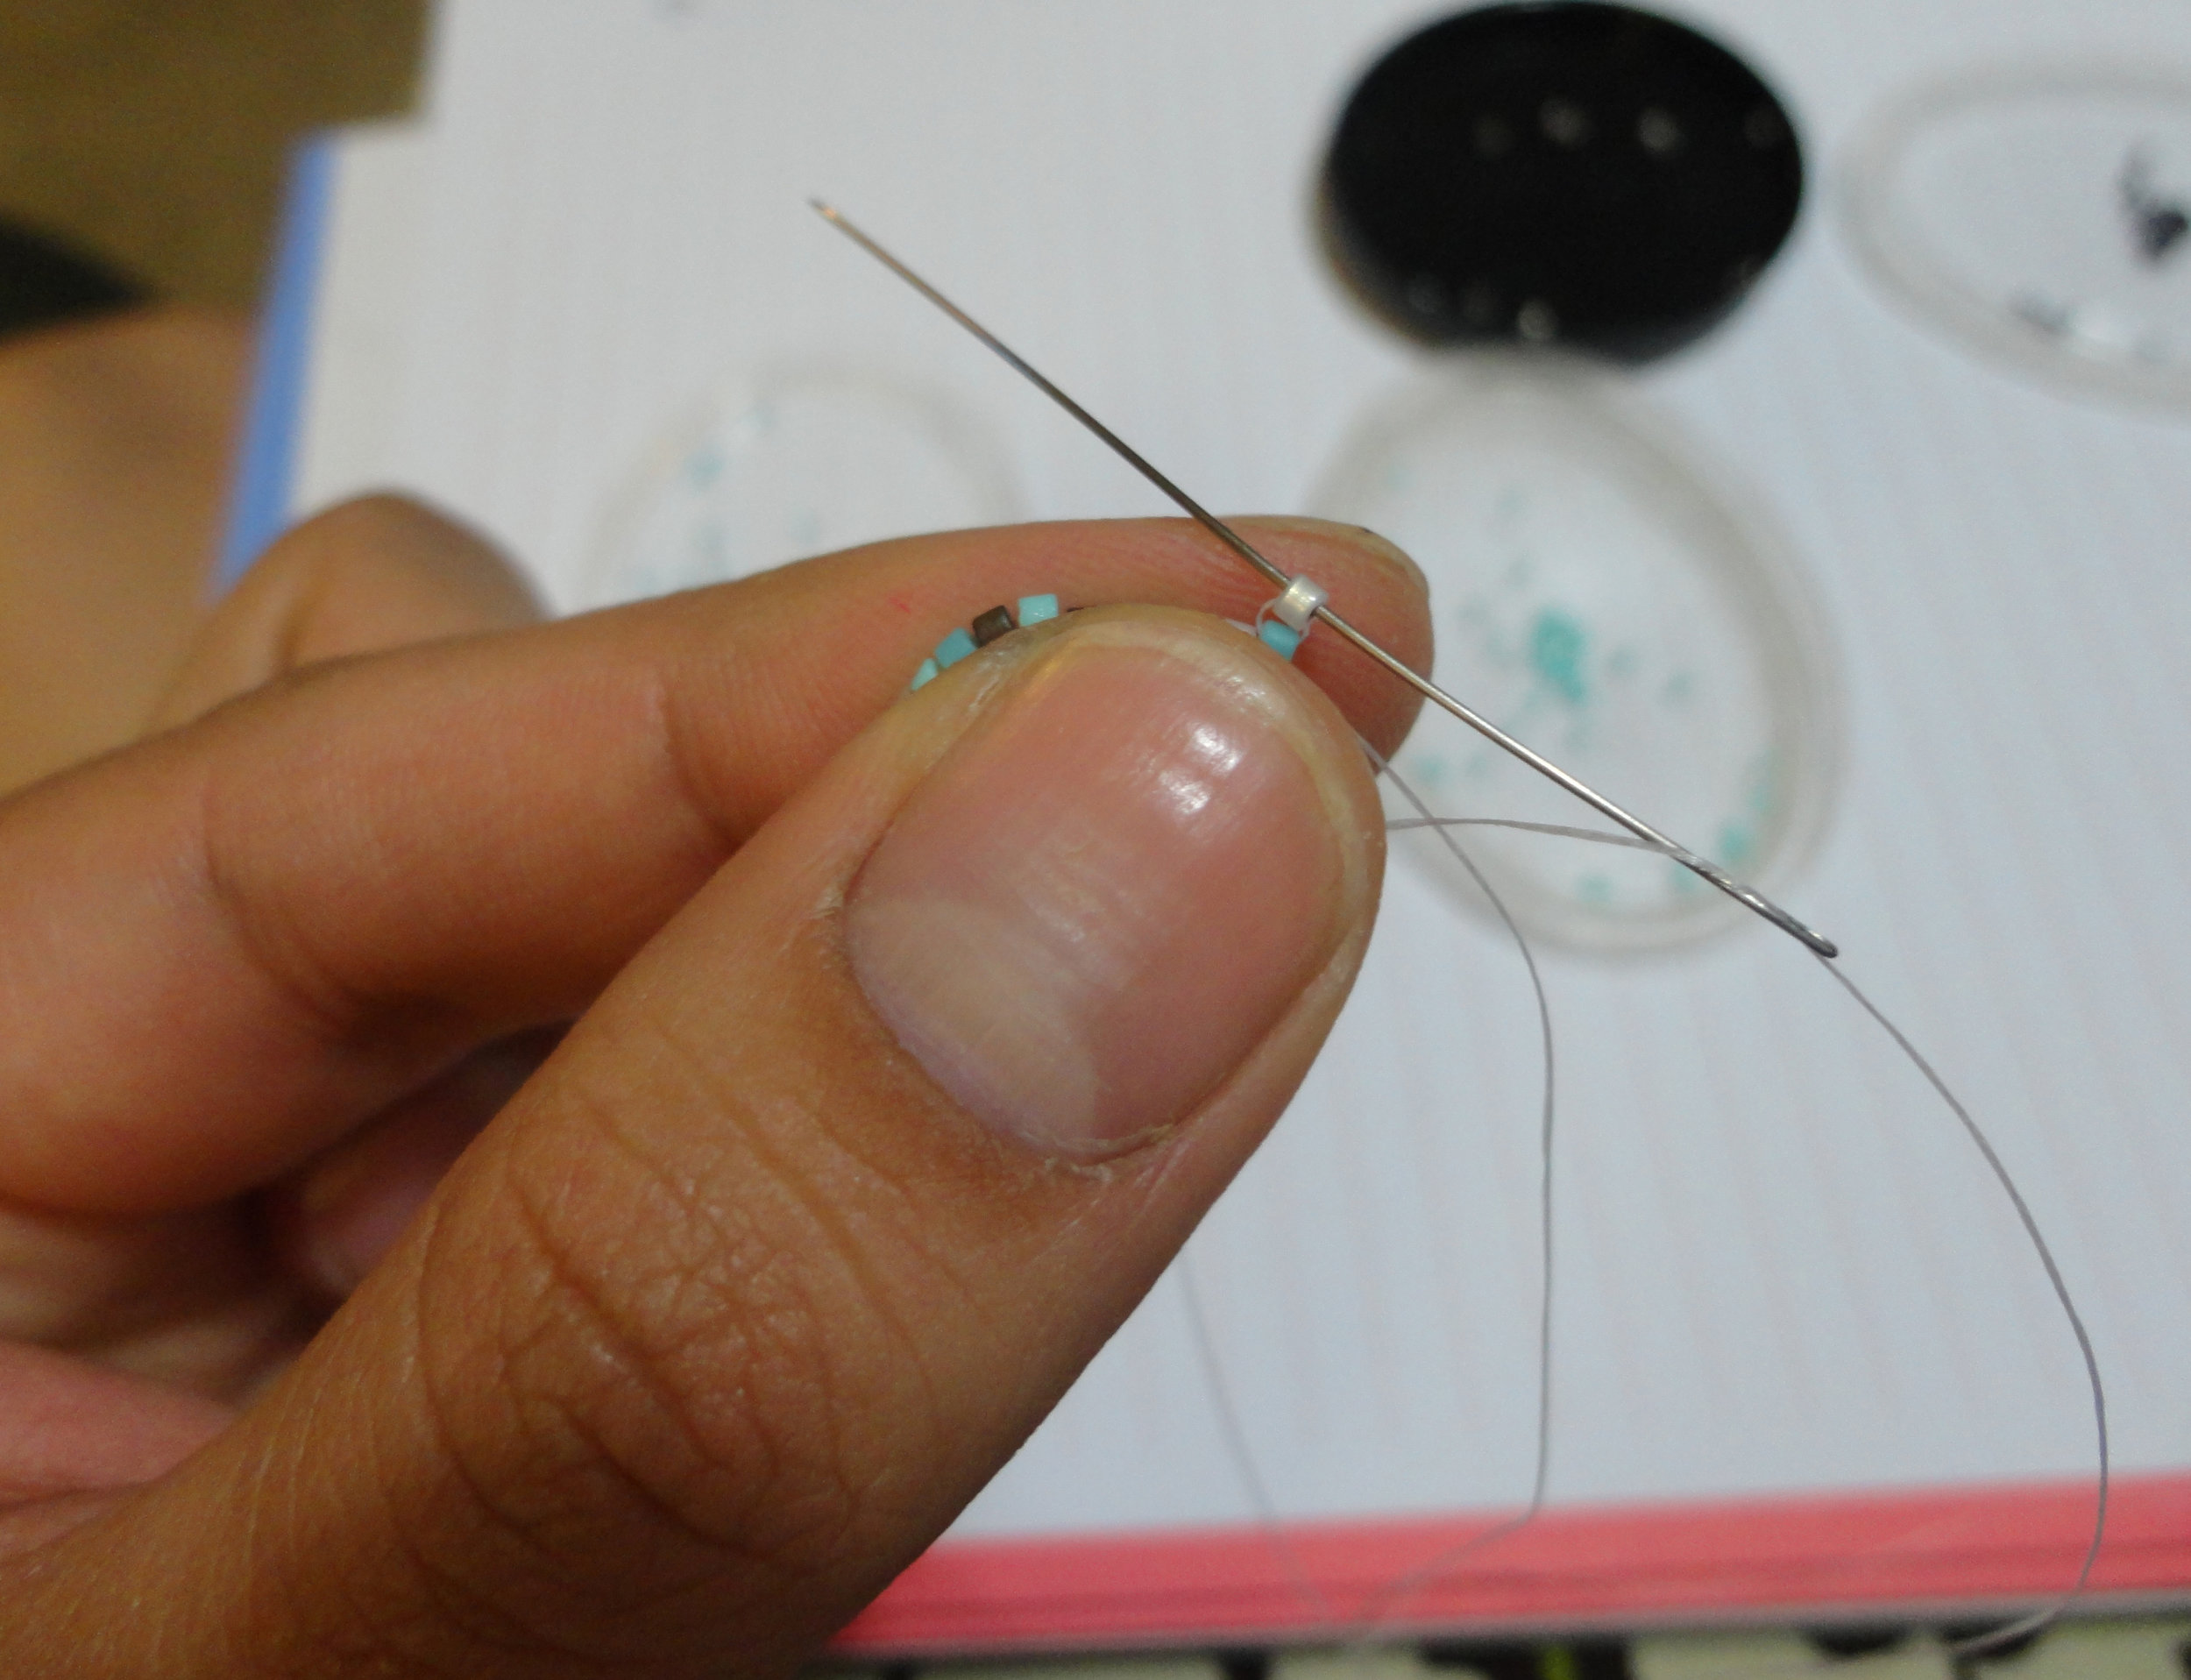
In reality it should look like the picture below.
Now string the next bead on and repeat the last step.
Your needle is going to go through the bottom bead first and then through the top bead. Pull tight.
Keep repeating this step until you finish your second row. Your needle and thread is going to end up on the same side as your tail thread. Tie a knot with the tail and needle thread and then put your needle through the entire first row and then the second row. This step reinforces each row. Your going to do this after you each row you bead. As you can see in the picture above, your first two rows will look a little disheveled. Thats ok, once you reinforce they will look straight.
Once you are done reinforcing your rows you are ready to start your next row. Make sure you keep everything nice and tight. Once you have done the first two rows it's smooth sailing!
As far as design goes you can make your own with graph paper or you can find free ones all over the internet.
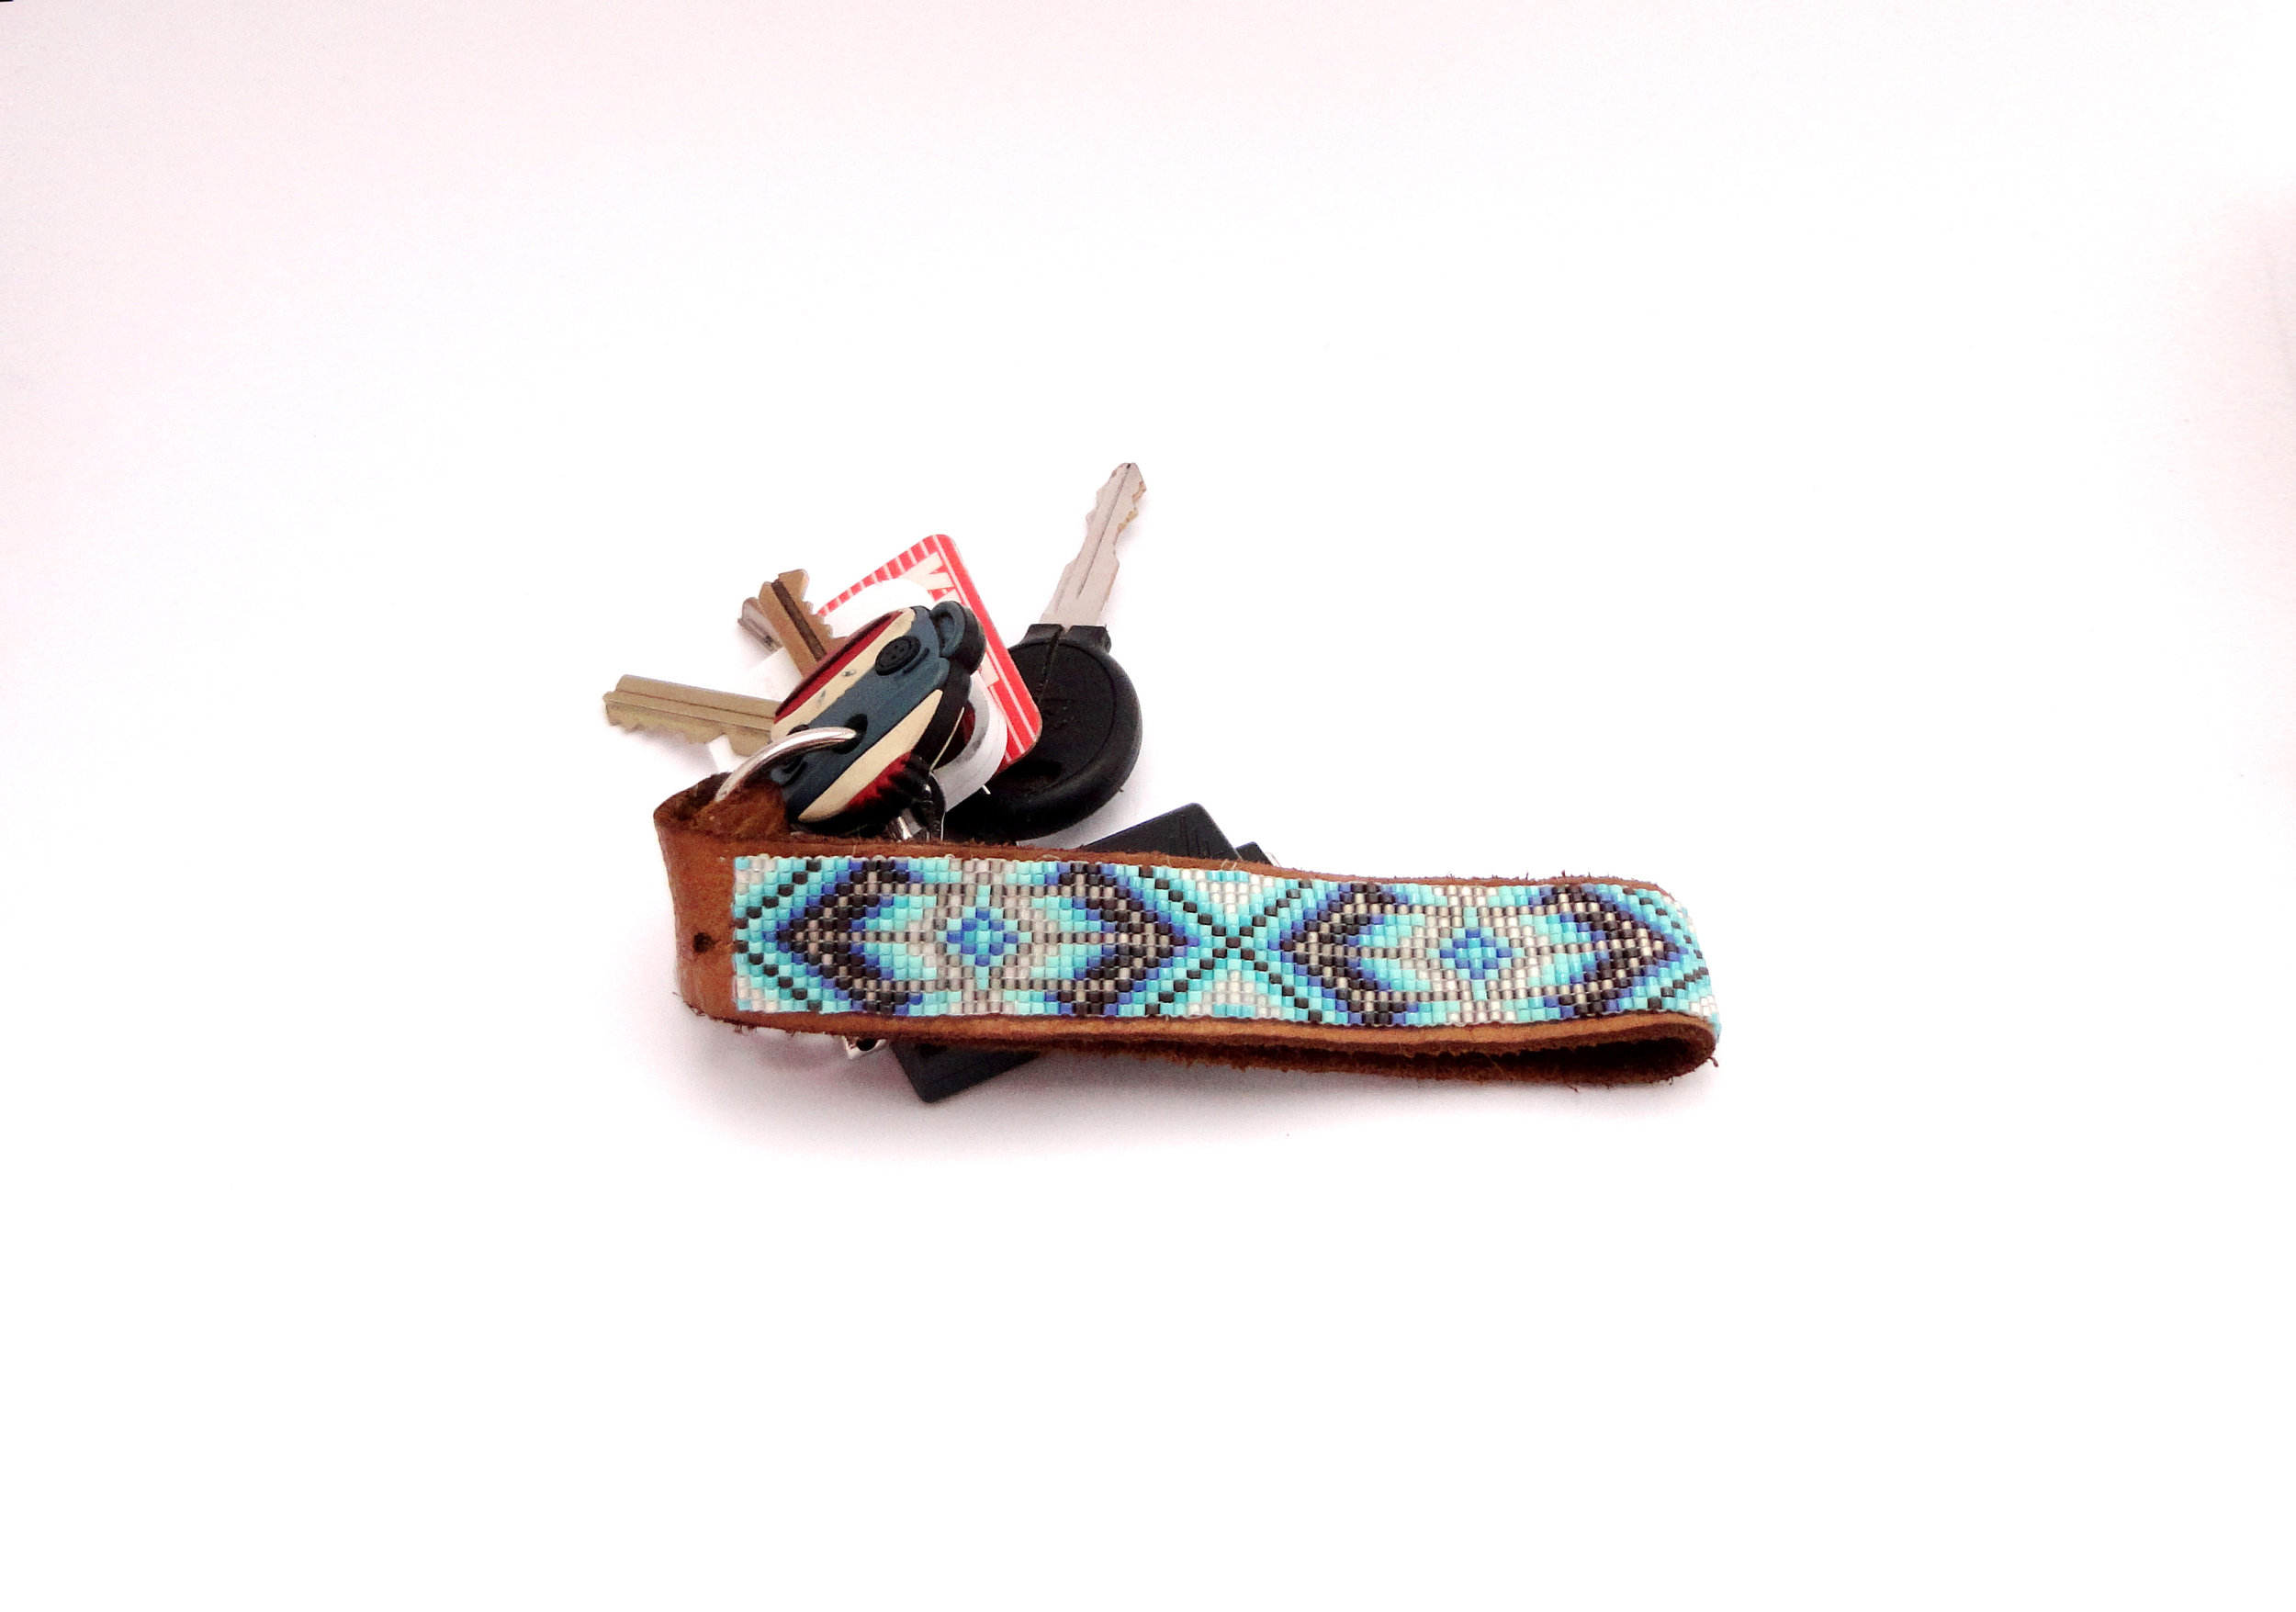
My finished square stitch beaded keychain.


